Step 4: Access Policies
NetBird operates on a zero-trust model: no peer can communicate with another peer unless an explicit policy allows it. This step creates the groups and policies that define who can access what.
4.1 Remove the Default Policy
Section titled “4.1 Remove the Default Policy”NetBird ships with a “Default” policy that allows all peers to communicate with all other peers on all protocols. This completely undermines zero-trust and must be removed once your replacement policies are in place.
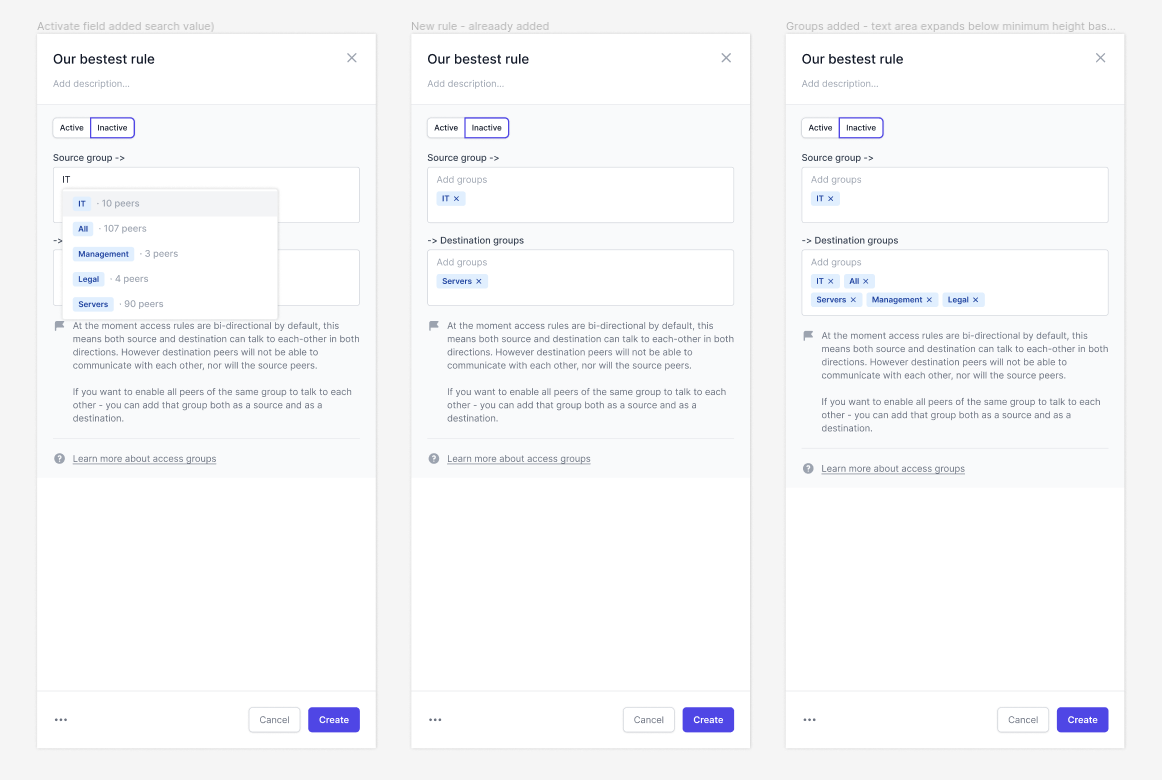
4.2 Create Groups
Section titled “4.2 Create Groups”Navigate to the Peers or Groups page and create these groups. Some already exist from setup key auto-assignment (Step 3).
Routing Peer Groups (Already Created)
Section titled “Routing Peer Groups (Already Created)”These were auto-created by setup keys in Step 3:
| Group | Members | Purpose |
|---|---|---|
HNL-Routing-Peers | gsi-nb-hnl-01, gsi-nb-hnl-02 (HA) | Honolulu routing peers |
BLD-Routing-Peers | gsi-nb-bld-01, gsi-nb-bld-02 (HA) | Boulder routing peers |
New Groups to Create
Section titled “New Groups to Create”| Group | Type | Members | Purpose |
|---|---|---|---|
Routing-Peers | Peer group | All routing peer machines (add HNL + BLD peers) | Umbrella group for all routing infrastructure; disable login expiration |
Company-Laptops | User group | All user endpoints (auto-assigned via TRMM setup key) | All company-managed Windows laptops |
IT-Admins | User group | IT staff user accounts | Full access to all networks and management |
Hawaii-Engineers | User group | Honolulu-based staff | Access to Honolulu LAN resources |
Boulder-Engineers | User group | Boulder-based staff | Access to Boulder LAN resources |
To create a group:
- Go to Peers or navigate to any policy/route creation form
- Type the new group name in a group input field
- NetBird will offer to create the group
Assign users to groups:
- Go to Team > Users
- Select a user
- Add them to the appropriate groups
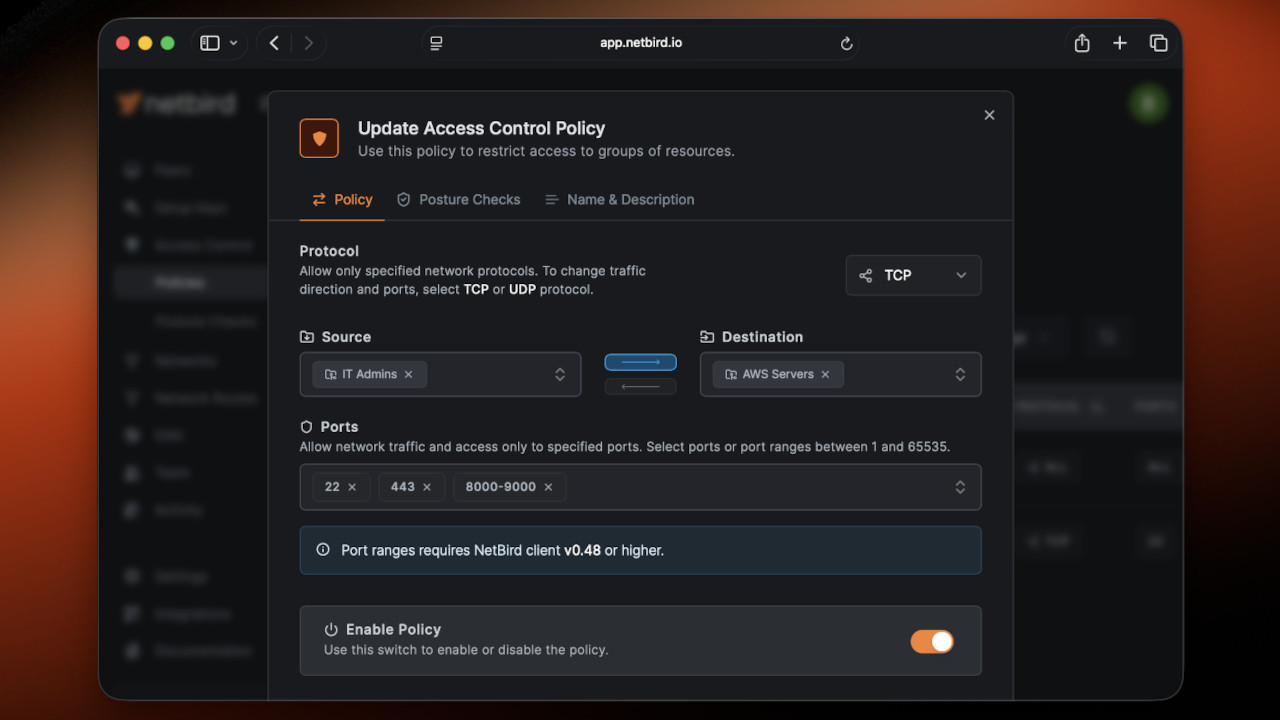
4.3 Create Access Control Policies
Section titled “4.3 Create Access Control Policies”Navigate to Access Control > Policies > Add Policy.
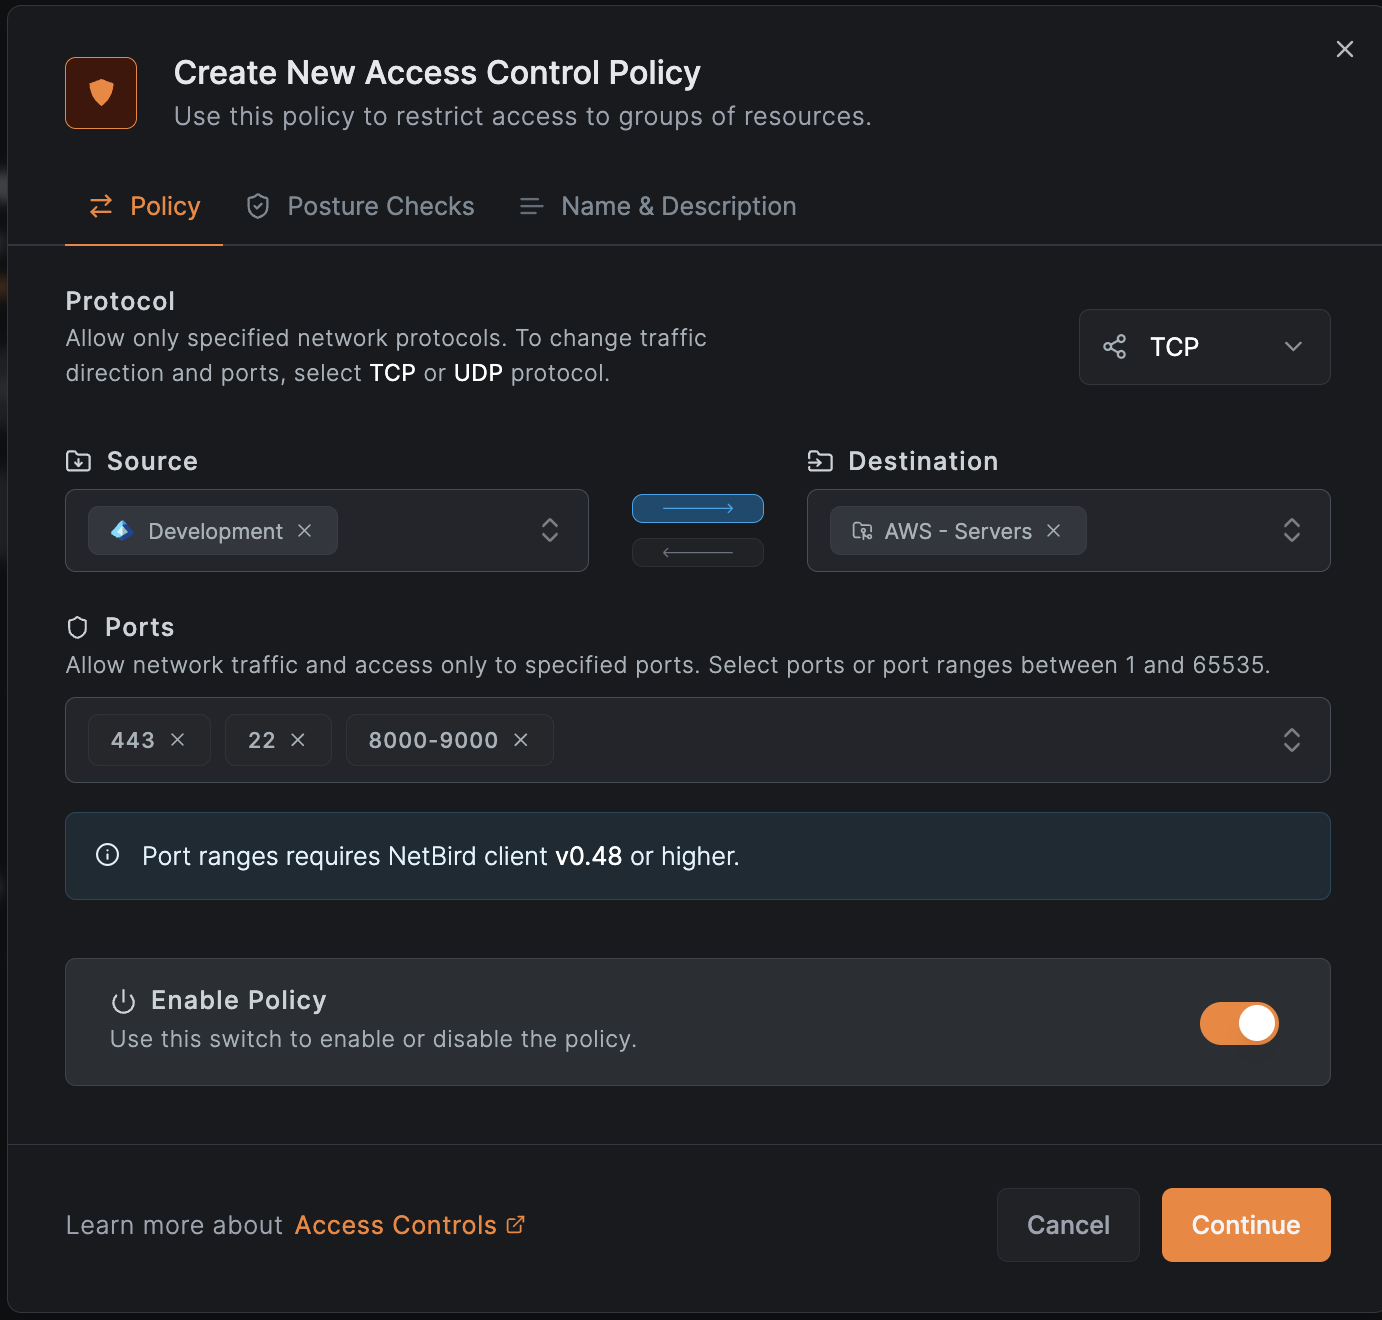
Policy 1: All Staff — Domain Controller Access
Section titled “Policy 1: All Staff — Domain Controller Access”All company laptops need access to domain controllers at both sites for authentication, DNS, Group Policy, file shares, and time sync.
| Field | Value |
|---|---|
| Name | All Staff - DC Access |
| Description | Allow all company laptops to reach domain controllers for AD authentication and services |
| Source | Company-Laptops |
| Destination | HNL-Routing-Peers, BLD-Routing-Peers |
| Protocol | TCP |
| Ports | 53, 88, 123, 135, 389, 445, 464, 636, 3268, 3269 |
| Direction | Source to Destination |
Policy 2: All Staff — DC Access (UDP)
Section titled “Policy 2: All Staff — DC Access (UDP)”Some AD services require UDP as well.
| Field | Value |
|---|---|
| Name | All Staff - DC Access (UDP) |
| Description | UDP ports for DNS, Kerberos, NTP |
| Source | Company-Laptops |
| Destination | HNL-Routing-Peers, BLD-Routing-Peers |
| Protocol | UDP |
| Ports | 53, 88, 123, 389, 464 |
| Direction | Source to Destination |
Policy 3: Hawaii Engineers — Honolulu Full Access
Section titled “Policy 3: Hawaii Engineers — Honolulu Full Access”| Field | Value |
|---|---|
| Name | Hawaii Engineers - Honolulu LAN |
| Description | Full access to all Honolulu LAN resources |
| Source | Hawaii-Engineers |
| Destination | HNL-Routing-Peers |
| Protocol | ALL |
| Direction | Source to Destination |
Policy 4: Boulder Engineers — Boulder Full Access
Section titled “Policy 4: Boulder Engineers — Boulder Full Access”| Field | Value |
|---|---|
| Name | Boulder Engineers - Boulder LAN |
| Description | Full access to all Boulder LAN resources |
| Source | Boulder-Engineers |
| Destination | BLD-Routing-Peers |
| Protocol | ALL |
| Direction | Source to Destination |
Policy 5: IT Admins — All Networks Full Access
Section titled “Policy 5: IT Admins — All Networks Full Access”| Field | Value |
|---|---|
| Name | IT Admins - Full Access |
| Description | IT Admins can reach all office networks on all protocols |
| Source | IT-Admins |
| Destination | HNL-Routing-Peers, BLD-Routing-Peers |
| Protocol | ALL |
| Direction | Source to Destination |
Policy 6: Site-to-Site Routing Peers
Section titled “Policy 6: Site-to-Site Routing Peers”Required for the bidirectional site-to-site routes created in Step 3.6. Without this policy, the routing peers cannot exchange traffic between sites.
| Field | Value |
|---|---|
| Name | Site-to-Site - Routing Peers |
| Description | Allow Honolulu and Boulder routing peers to communicate for site-to-site routing |
| Source | HNL-Routing-Peers |
| Destination | BLD-Routing-Peers |
| Protocol | ALL |
| Direction | Bidirectional |
4.4 Delete the Default Policy
Section titled “4.4 Delete the Default Policy”Now that all required policies are in place:
- Go to Access Control > Policies
- Find the Default policy (Source: All, Destination: All, Protocol: All)
- Click the three-dot menu > Delete
- Confirm deletion
4.5 Policy Summary
Section titled “4.5 Policy Summary”| Policy | Source | Destination | Protocol | Ports |
|---|---|---|---|---|
| All Staff - DC Access | Company-Laptops | HNL-Routing-Peers, BLD-Routing-Peers | TCP | 53, 88, 123, 135, 389, 445, 464, 636, 3268, 3269 |
| All Staff - DC Access (UDP) | Company-Laptops | HNL-Routing-Peers, BLD-Routing-Peers | UDP | 53, 88, 123, 389, 464 |
| Hawaii Engineers - Honolulu LAN | Hawaii-Engineers | HNL-Routing-Peers | ALL | — |
| Boulder Engineers - Boulder LAN | Boulder-Engineers | BLD-Routing-Peers | ALL | — |
| IT Admins - Full Access | IT-Admins | HNL-Routing-Peers, BLD-Routing-Peers | ALL | — |
| Site-to-Site - Routing Peers | HNL-Routing-Peers | BLD-Routing-Peers | ALL | Bidirectional |
Verification
Section titled “Verification”At this point you should have:
- Six access control policies created
- Groups created:
Routing-Peers,Company-Laptops,IT-Admins,Hawaii-Engineers,Boulder-Engineers - Default ALL-to-ALL policy deleted (after testing)
- At least one IT admin user assigned to the
IT-Adminsgroup - Site-to-site bidirectional policy in place
Next Step
Section titled “Next Step”Proceed to Step 5: Client Deployment to create the setup key for endpoints and deploy the NetBird client via TacticalRMM.