Step 5: Client Deployment
This step creates the setup key for endpoint enrollment and deploys the NetBird Windows client to approximately 200 machines using TacticalRMM.
5.1 Create the Endpoint Setup Key
Section titled “5.1 Create the Endpoint Setup Key”- Sign in to
https://netbird.gsisg.com - Go to Setup Keys > Create Setup Key

| Field | Value |
|---|---|
| Name | Company Laptops - TRMM Deploy |
| Type | Reusable |
| Usage Limit | 250 (buffer above 200 machines) |
| Expires | 90 days (extend as needed during rollout) |
| Auto-assigned groups | Company-Laptops |
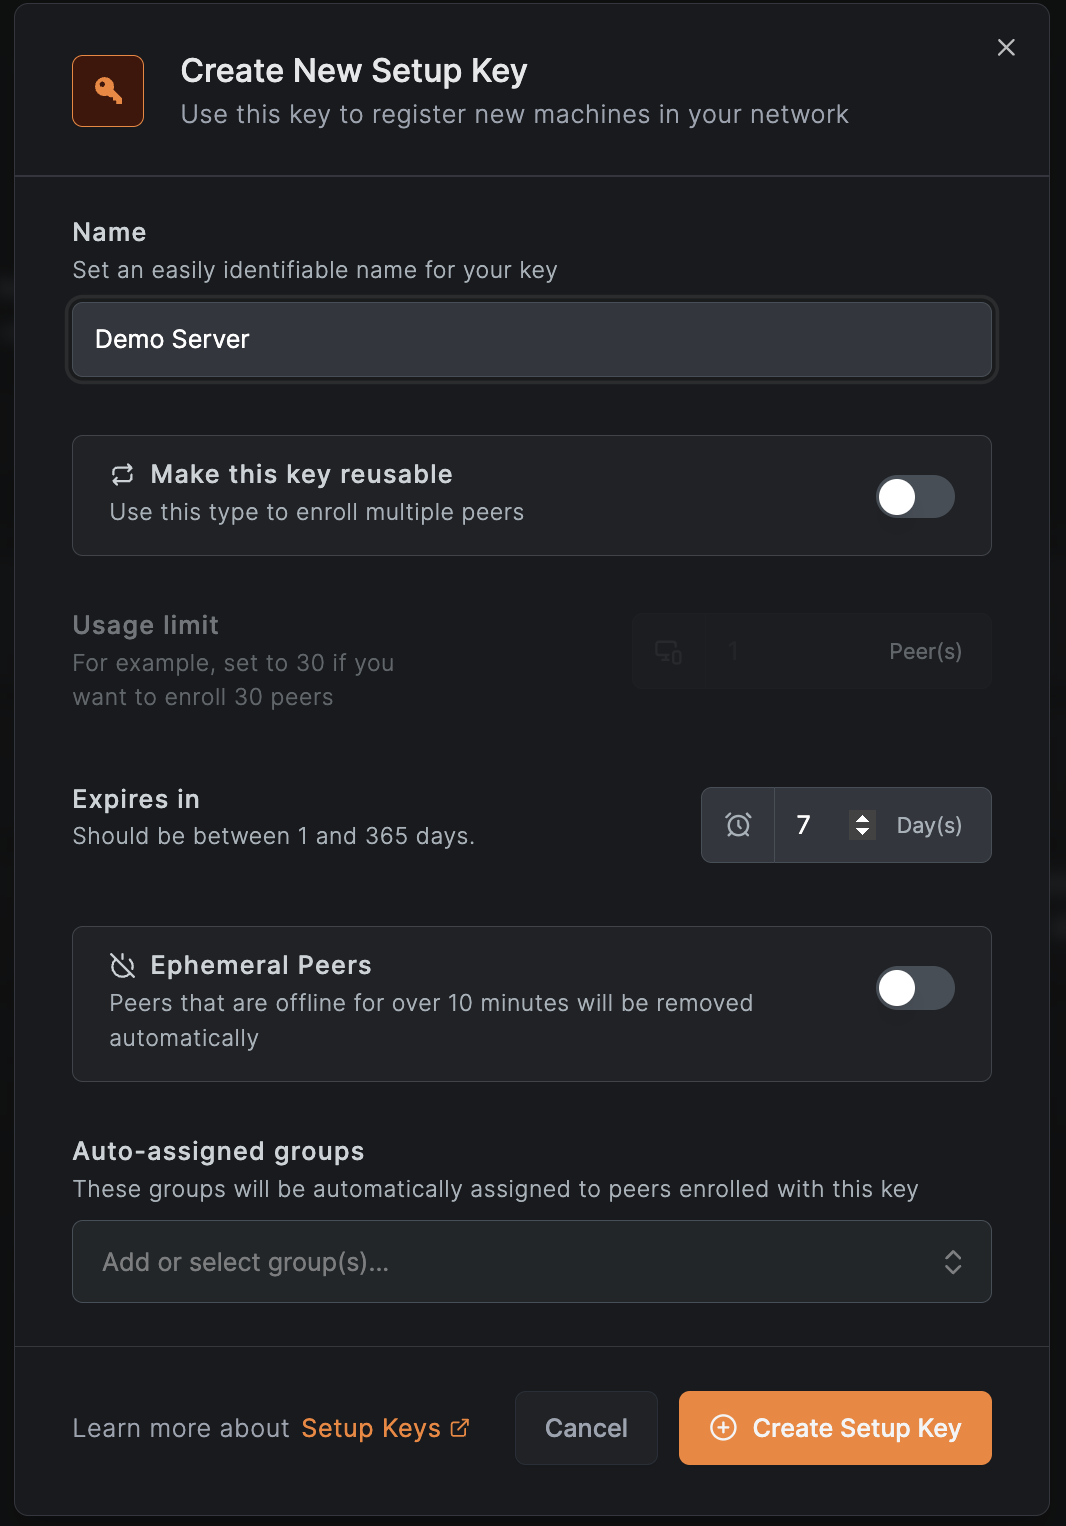
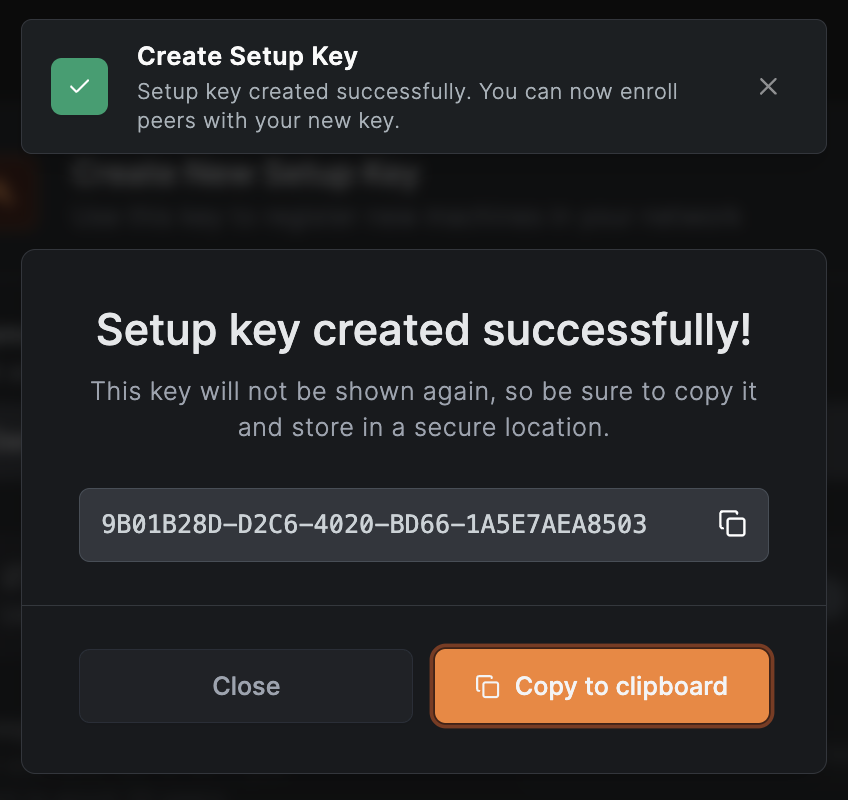
Click Create Setup Key and copy the key.
5.2 TacticalRMM Deployment Script
Section titled “5.2 TacticalRMM Deployment Script”The TRMM script performs a silent MSI install, applies the setup key, configures GlobalProtect coexistence flags, and verifies connectivity. The production script is maintained at:
/home/adminuser/projects/work-vpn/trmm-deploy-netbird.ps1
Script Overview
Section titled “Script Overview”The script:
- Checks if NetBird is already installed (skips if yes)
- Adds a Windows Defender exclusion for
C:\Program Files\NetBird\ - Downloads the latest MSI from GitHub
- Runs a silent install with
SETUP_KEYandMANAGEMENT_URLproperties - Applies
--network-monitor=falsefor GlobalProtect coexistence - Verifies the NetBird service is running
- Reports connection status
Key Script Parameters
Section titled “Key Script Parameters”param( [string]$SetupKey = "REPLACE_WITH_YOUR_SETUP_KEY", [string]$ManagementUrl = "https://netbird.gsisg.com", [bool]$DisableNetworkMonitor = $true)Deploying via TRMM
Section titled “Deploying via TRMM”- In TacticalRMM, go to Settings > Script Manager > New Script
- Set:
- Name:
Deploy NetBird Client - Shell: PowerShell
- Run as: System
- Name:
- Paste the script content
- In the script arguments, set:
-SetupKey "YOUR_ACTUAL_SETUP_KEY" -ManagementUrl "https://netbird.gsisg.com" -DisableNetworkMonitor $true
MSI Silent Install Details
Section titled “MSI Silent Install Details”The MSI supports these properties for silent deployment:
msiexec.exe /i "netbird.msi" /qn /norestart SETUP_KEY=<KEY> MANAGEMENT_URL=https://netbird.gsisg.comThis installs the NetBird agent and UI client to C:\Program Files\NetBird\ and creates a Windows service named NetBird.
5.3 GlobalProtect Coexistence
Section titled “5.3 GlobalProtect Coexistence”During the transition period while GlobalProtect (Palo Alto) is still installed on some machines, the --network-monitor=false flag is required.
Why: NetBird’s network monitor detects interface changes and reconnects. When GlobalProtect brings its tunnel interface up/down, it triggers NetBird to restart, causing unnecessary disruptions. Disabling the network monitor prevents this.
The flag is applied in the TRMM script after installation:
if ($DisableNetworkMonitor) { & $NetBirdExePath up --setup-key $SetupKey --management-url $ManagementUrl --network-monitor=false}5.4 Additional Client Lockdown Flags
Section titled “5.4 Additional Client Lockdown Flags”For managed deployments, consider these additional flags to prevent users from modifying the NetBird configuration:
netbird up --disable-profiles --disable-update-settings| Flag | Purpose |
|---|---|
--network-monitor=false | Prevent GP-triggered restarts (remove after GP uninstall) |
--disable-profiles | Prevent users from switching network profiles |
--disable-update-settings | Prevent users from changing management URL or other settings |
5.5 Push AV Exclusions
Section titled “5.5 Push AV Exclusions”Push Windows Defender (and any third-party AV) exclusions for the NetBird directory before or during installation. This prevents false-positive detections on the WireGuard driver and tunnel interface.
Via TRMM Script (Included in Deploy Script)
Section titled “Via TRMM Script (Included in Deploy Script)”Add-MpPreference -ExclusionPath "C:\Program Files\NetBird\"Via Group Policy (Recommended for Persistence)
Section titled “Via Group Policy (Recommended for Persistence)”- Open Group Policy Management
- Edit a GPO linked to your computer OUs
- Navigate to: Computer Configuration > Administrative Templates > Windows Components > Microsoft Defender Antivirus > Exclusions > Path Exclusions
- Add:
C:\Program Files\NetBird\
5.6 GPO Firewall Rules for wt0 Interface
Section titled “5.6 GPO Firewall Rules for wt0 Interface”NetBird creates a virtual network interface named wt0. Windows Firewall may block traffic on this interface depending on the network profile it is assigned. Create a GPO to ensure traffic flows properly.
Via Group Policy
Section titled “Via Group Policy”- Open Group Policy Management
- Edit a GPO linked to your computer OUs
- Navigate to: Computer Configuration > Windows Settings > Security Settings > Windows Defender Firewall with Advanced Security
- Create an Inbound Rule:
| Field | Value |
|---|---|
| Rule Type | Custom |
| Program | All programs |
| Protocol | Any |
| Scope | Local IP: Any, Remote IP: 100.64.0.0/10 (NetBird CGNAT range) |
| Action | Allow |
| Profile | Domain, Private, Public |
| Name | NetBird - Allow wt0 Inbound |
- Create a matching Outbound Rule with the same settings
Via PowerShell (Alternative)
Section titled “Via PowerShell (Alternative)”# Allow inbound from NetBird CGNAT rangeNew-NetFirewallRule -DisplayName "NetBird wt0 Inbound" ` -Direction Inbound -Action Allow -Protocol Any ` -RemoteAddress 100.64.0.0/10
# Allow outbound to NetBird CGNAT rangeNew-NetFirewallRule -DisplayName "NetBird wt0 Outbound" ` -Direction Outbound -Action Allow -Protocol Any ` -RemoteAddress 100.64.0.0/105.7 Pilot Deployment
Section titled “5.7 Pilot Deployment”Roll out to a small pilot group first (8-10 users across both offices and remote workers).
Pilot Selection Criteria
Section titled “Pilot Selection Criteria”- 2-3 IT staff (immediate troubleshooting capability)
- 2-3 Honolulu office users
- 2-3 Boulder office users
- 1-2 fully remote users
Pilot Test Plan
Section titled “Pilot Test Plan”- Deploy the NetBird client via TRMM to pilot machines
- Verify the system tray icon shows “Connected”

- Test from each pilot machine:
- Ping DCs:
ping 10.100.7.10(Honolulu AD0),ping 10.15.0.10(Boulder AD1) - SMB access:
net use \\10.100.7.15\ShareName(FILES server) - DNS resolution:
nslookup ad0.gsisg.local 10.100.7.10 - RDP: Connect to a server via RDP through NetBird
- SAGE access: Verify SAGE application at 10.100.7.40
- Ping DCs:
- Run for 5-7 business days before proceeding to full rollout
- Collect feedback on performance, disconnects, and usability
Pilot Success Criteria
Section titled “Pilot Success Criteria”- All pilot machines show “Connected” in the Dashboard
- DC authentication works (Group Policy applies, drive mappings work)
- File shares accessible at both sites
- No conflicts with existing GlobalProtect (if still installed)
- No reported performance issues
- Connection type is P2P (not relayed) for same-site peers — verify with
netbird status --detail
5.8 Full Deployment
Section titled “5.8 Full Deployment”After a successful pilot, deploy to all remaining machines:
- Create a TRMM policy targeting all Windows agents (or deploy in batches by site)
- Use the same script with the same setup key
- Monitor the Peers tab in the Dashboard — new machines should appear within minutes
- Verify peer count matches expected machine count
Rollout Schedule (Recommended)
Section titled “Rollout Schedule (Recommended)”| Phase | Target | Machines | Duration |
|---|---|---|---|
| Pilot | IT staff + selected users | 8-10 | 5-7 days |
| Wave 1 | Honolulu office | ~80 | 2-3 days |
| Wave 2 | Boulder office | ~80 | 2-3 days |
| Wave 3 | Remaining remote users | ~30 | 2-3 days |
Verification
Section titled “Verification”At this point you should have:
- Reusable setup key created for
Company-Laptopsgroup - TRMM deployment script configured with setup key and management URL
- AV exclusions pushed (Defender + GPO)
- Firewall GPO for wt0 interface deployed
- Pilot group deployed and tested for 5-7 days
- Full rollout completed in waves
- All machines visible in the NetBird Dashboard Peers tab
Next Step
Section titled “Next Step”Proceed to Step 6: Verification and Monitoring to validate the full deployment and configure ongoing monitoring.